The use of music in videos is one of the most effective approaches for linking different clips recorded across multiple locations and times to produce a logical and cohesive outcome. Music gives otherwise dull footage a sense of mood and atmosphere that no other editing effect can achieve on its own.
Whether you are making a music video, personal vlog, or corporate industrial video, these tips will simplify your musical synch edits in Adobe Premiere Pro.
Import your video and audio

Begin by importing the previously recorded video onto your device and creating a new project in Adobe Premiere Pro. Locate your preferred audio file and listen to the track a few times. To start a new project, find the desired footage and sound in the Media Bin and select the File menu.
Your video will typically include scratch audio. The soundtrack is a separate audio file, ultimately replacing the original audio, assuming you choose not to mix it into the clip. Since you are assembling the entire clip around the music, select your track carefully. Ensure that the audio file has distinct beats for synchronizing your cuts. To add the audio file to your sequence, import or drag and drop it from the Media Bin to replace the scratch audio.
Add markers
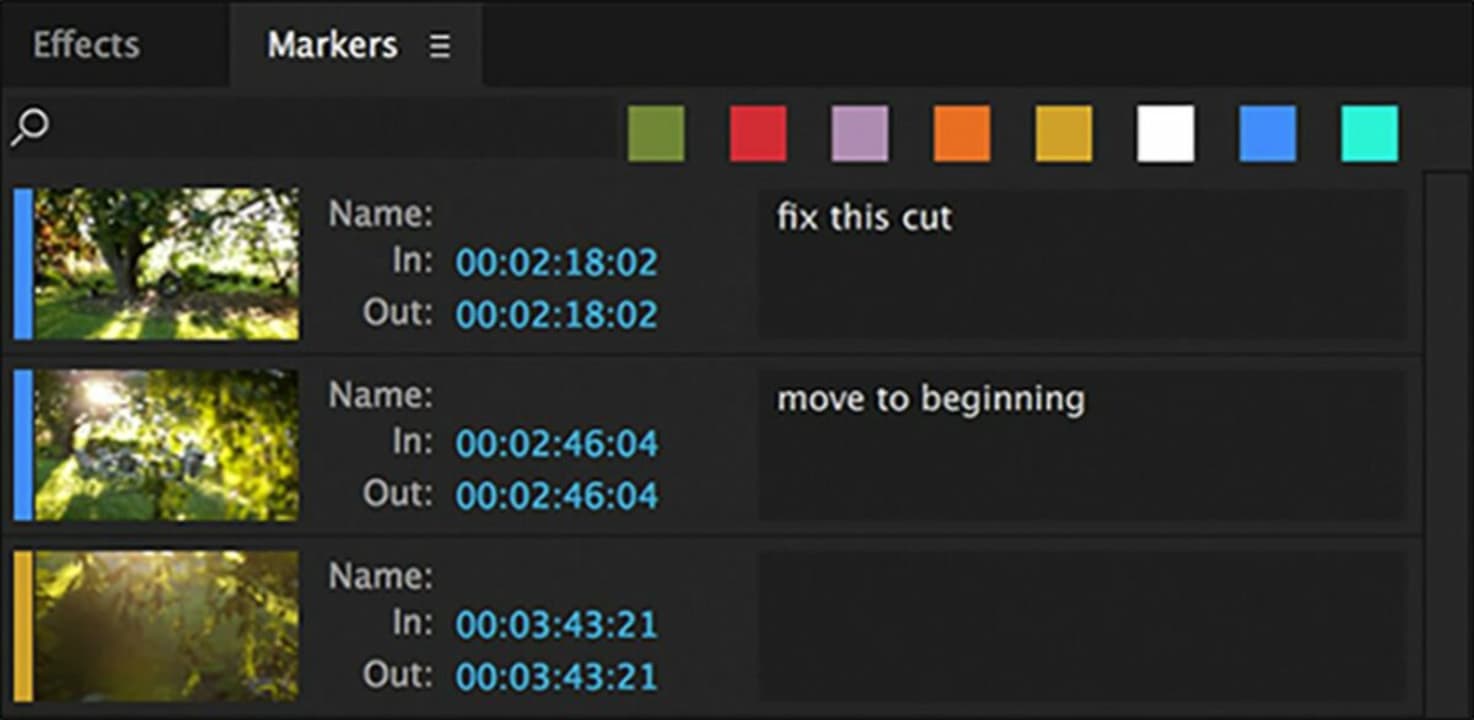
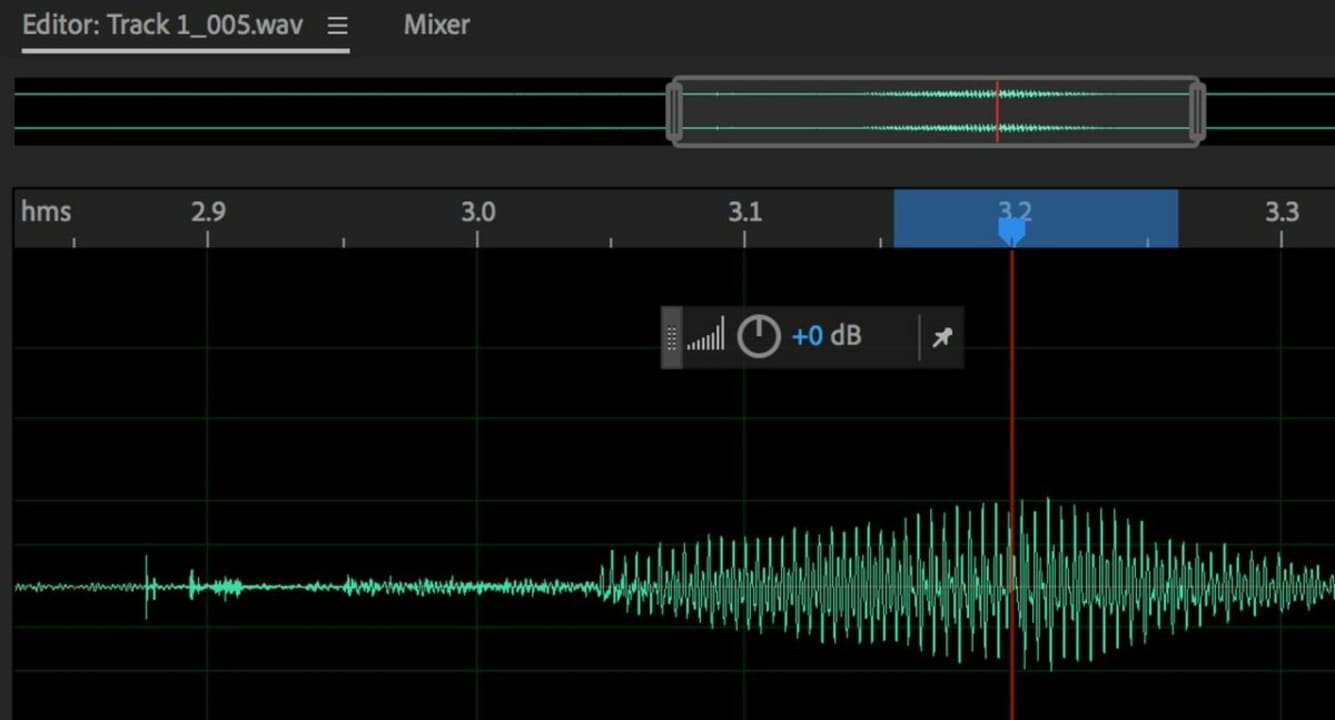
Once you’ve gathered your media and created a new project in Adobe Premiere Pro, you’re ready to start adding markers to the sequence. Locate the Wrench icon above your timeline and click on it to display the dropdown menu. Select the Show Audio Waveform. The waveform graphic shows you where the beats are in your selected audio file.
Now add markers to the sequence using the M on your keyboard as a shortcut. Using the waveform, locate the beats within the song to make your cuts on and apply markers to them throughout. This process involves an element of precision. Those who are less than musically inclined can rely on the waveform.
Insert your in and out points
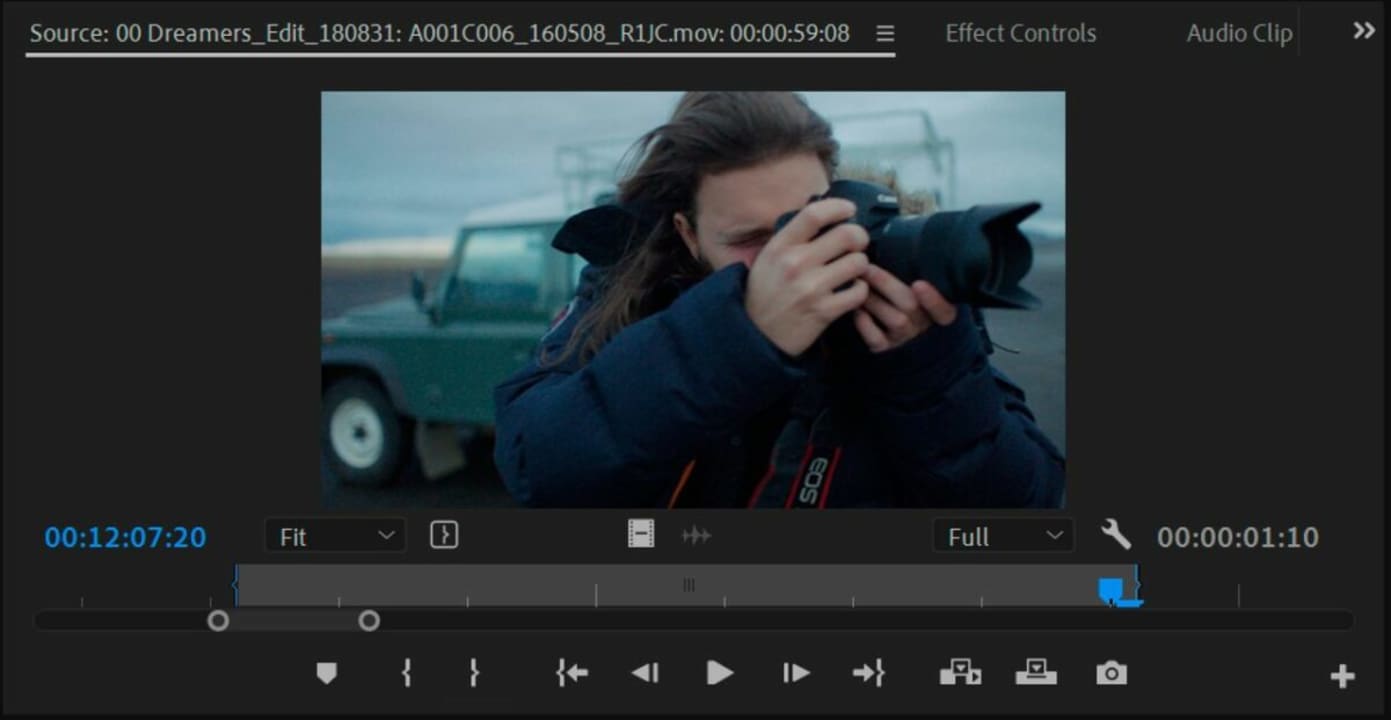
From the Media Bin, start adding the In and Out points. You can either click on their respective icons or use the I and O keys as shortcuts. Set the In and Out points to each clip you want synchronized to the beat. This informs the editing software of where you want your cuts.
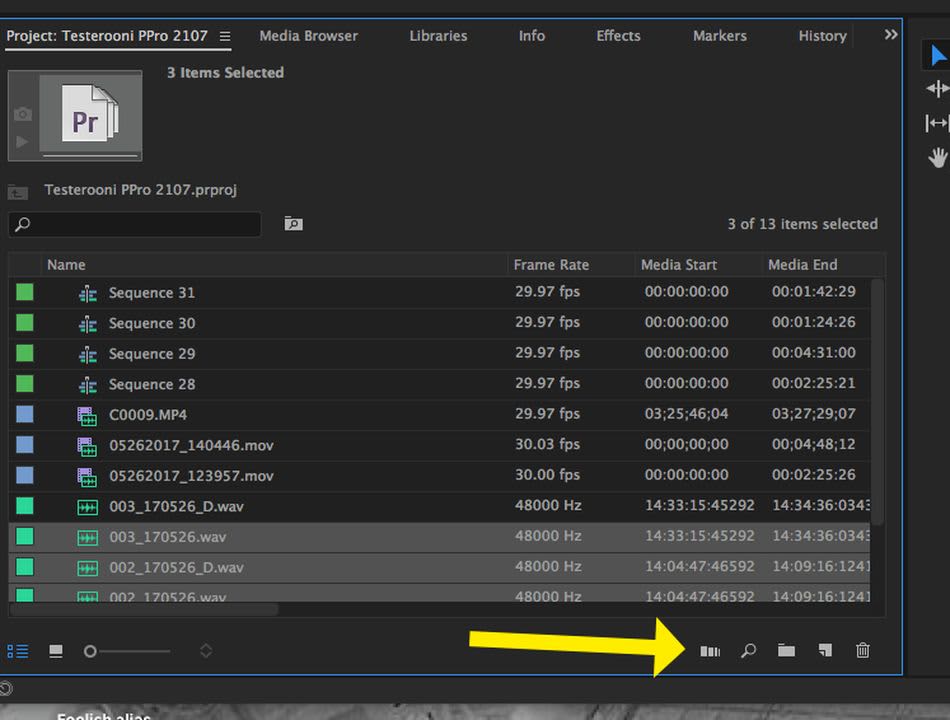
After identifying all the clips to be used in the sequence and setting your In and Out points in the Media Bin, proceed to select the video segments in the desired order of appearance. Choosing them in order prearranges your rough cut on the editing timeline.
Automate to sequence
Now that you have your markers in and and your In and Out points set, select Automate to sequence from the clip menu. Veteran Premiere Pro editors may be unfamiliar with this step, but Automate to sequence is the most efficient way of adding your clips to the timeline and editing them to a musical beat. The function lets you quickly create time-lapses, eliminate audio pops, and edit jump cuts without additional time-consuming steps.
Choosing the Automate to sequence option produces a new window on your screen. At this point, navigate to the Ordering menu and choose the Selection order. Once you’ve enable the function, find the Placement menu click on the At Unnumbered Markers. Now, change the method to Overwrite Edit.
Match your footage
Confirm that the Use In/Out Range setting is enabled. If you haven’t deleted your scratch-recorded sound, click on the Ignore Audio option to eliminate it. Select OK to enable the changes. This prompts Adobe Premiere Pro to automatically synchronize your video with the markers you previously applied to the sequence.
While the Automate to sequence feature lends itself to a more efficient editing workflow, it is worth reiterating that your clips must be in the correct order inside your Media Bin for the feature to work. Be sure to arrange the segments sequentially and set your In and Out points before selecting the Automate to sequence button. Lastly, never place your markers directly on the beat. Instead, aim for setting them a frame or two head of it for optimal results.
Syncing footage with Adobe Premiere Pro made simple
Adobe makes editing video to music easy, but it doesn’t necessarily offer a one-click solution for making complex synch edits that once took hours to finish. Instead, the Automate to sequence option gives a reliable departure point for creating a fine cut. You’ll almost assuredly make minor adjustments to your project before it’s complete. For more on making high-quality Instagram reels in Adobe Premiere Pro, check out this recent tutorial.

